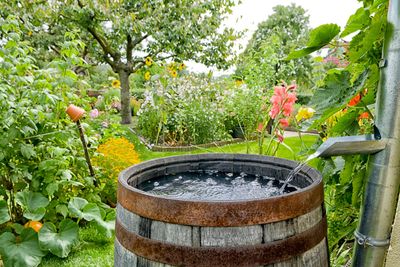
When it comes to homemade rain barrels, there are a number of variations, depending on your specific site and your budget. Below, we have provided a few basic considerations to keep in mind as you begin to make your own rain barrel for the garden.
How to Make a Rain Barrel
Rain Barrel: Look for a 20- to 50-gallon (76-189 L.) barrel made of opaque, blue or black plastic. The barrel should be recycled food-grade plastic, and should never have been used to store chemicals. Be sure the barrel has a cover – either removable or sealed with a small opening. You can paint the barrel or leave it as-is. Some people also use wine barrels. Inlet: The inlet is where rainwater enters the barrel. Generally, rainwater enters through openings on the top of the barrel, or through tubing that enters the barrel through a port attached to a diverter on rain gutters. Overflows: A DIY rain barrel must have an overflow mechanism to prevent water from spilling over and flooding the area around the barrel. The type of mechanism depends on the inlet, and whether the top of the barrel is open or closed. If you get substantial rainfall, you can link two barrels together. Outlet: The outlet allows you to use the water collected in your DIY rain barrel. This simple mechanism consists of a spigot that you can use to fill buckets, watering cans or other containers.
Rain Barrel Ideas
Here are some suggestions on the various uses for your rain barrel:
Watering outdoor plants, using a drip irrigation systemFilling birdbathsWater for wildlifeHand-watering potted plantsWater for fountains or other water features
Note: Water from your rain barrel isn’t suitable for human consumption.
